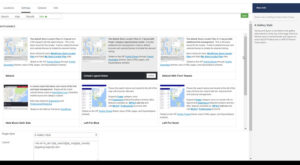
The Locations panel in Store Locator Plus is where you add, manage, edit and/or delete locations.
Bulk Actions and Filters
SLP Locations panel has a bulk tab with drop down actions and other filters that can be applied . If you have a large number of locations, bulk actions can be a very useful tool. If you have more locations than can fit on the display, you can set the display filter to show more locations. You may also use filters to display and manage non – geocoded locations, or show locations with certain properties. The display can be adjusted to suit your needs but configuration constraints and/or server constraints may effect your outcome.
Not all Bulk actions will appear if you have only the base plugin installed. Bulk action filters for removing Tags, performing Exports, geocoding all uncoded, and bulk categorize certain locations will be shown only if you have the WPSLP Power add-on or Professional or Enterprise level Plans for MySLP
The default number of locations that will be displayed on the admin user Interface is 10. Selecting a large number to display can be useful to view or manage but if your server capacity cannot handle it or changes and you go back to manage locations months or years later and try to access your locations panel, you may see no locations panel. If you see the wheels churning on your computer with no results this could be the reason. If you are not sure of the capabilities of your server, browser and various other factors that effect memory, and inhibit loading and displaying fields, err on the side of caution and set the Filter Display locations back to a manageable size before leaving the panel. If you are migrating servers from a “heavy duty” server to a less robust server, or if your memory becomes an issue you will need to reset the display to a manageable number. See Troubleshooting for more info.

