Store Locator Plus allows you to feature specific locations in your search results. This requires the Experience add on (or Premier ) for WordPress or a Professional or Enterprise account for My Store Locator Plus. Some of the interface styles provided by the style gallery support featured location highlighting “out of the box”, such as the Default With Font Tweaks style.
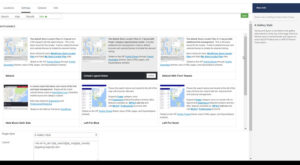
Select A Style That Supports Featured Locations
The Default With Font Tweaks Style is one of the styles that highlights locations and is a good starting point for testing this functionality. You can adjust the layout and styling afterwards to meet your specific design requirements.
WPSLP – Select the Store Locator Plus entry in the side menu.
MYSLP – Select Store Locator Plus in the side menu.
Go to the Settings Tab and select the View subtab.
Click on the activate button on Default With Font Tweaks in the style gallery.
Set The Results Sort Order
Go to the Results subtab.
Scroll down to the functionality section.
Change the Order Results By to “Featured, Rank, then Closest”.
Save this setting.
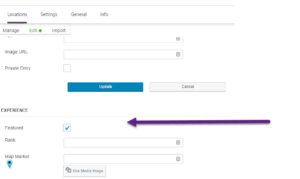
Mark A Location As Featured
Go to the Locations tab and edit a location.
Scroll down to the Featured setting and check it.
Click update to save the location as featured.
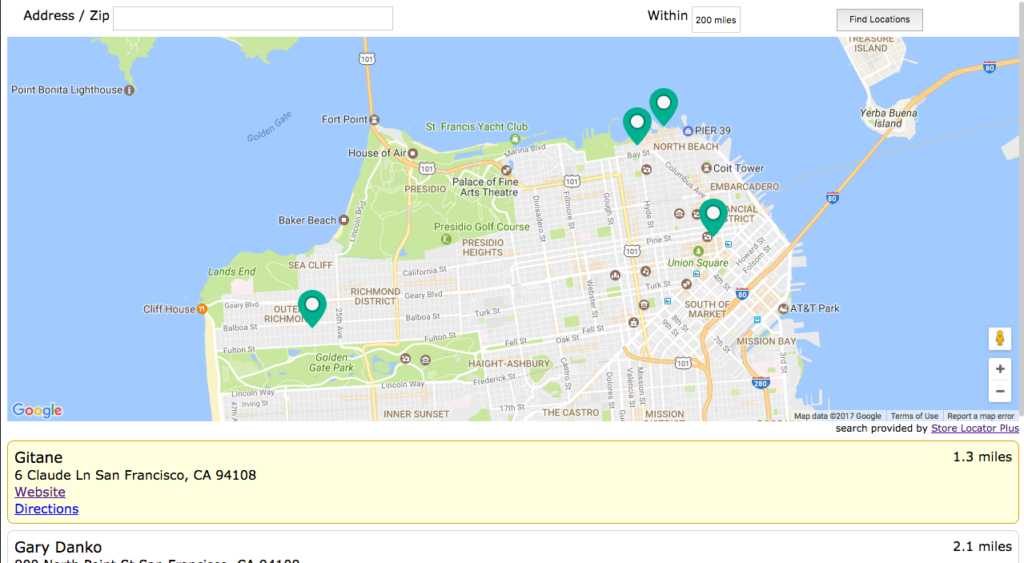
Go To Your Locator Page
Open your locator and search for your locations. The featured location should be at the top of the list as long as it is within your default search radius from your map center location.
Video