Removing the distance from the results can be done by editing the Results Layout. You will see the results layout box if you have the Experience add-on for WPSLP or have the professional level plan or higher for MYSLP.
For MySLP go to Store Locator Plus > Settings > Results > Appearance
For WPSLP go to Store Locator Plus > Settings > Results > Appearance
With the Results Layout setting find the HTML span tag with the slp_location distance shortcode.
This set of instructions will require you to be using the MySLP Professional level of service or higher. The Professional level includes the Experience add on that provides the Custom CSS rules interface. Instructions here are specific to MySLP but will work for WordPress plugin users as well.
Store Locator Plus allows you to feature specific locations in your search results. This requires the Experience add on (or Premier ) for WordPress or a Professional or Enterprise account for My Store Locator Plus. Some of the interface styles provided by the style gallery support featured location highlighting “out of the box”, such as the Default With Font Tweaks style.
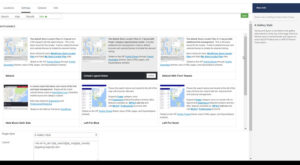
Select A Style That Supports Featured Locations
The Default With Font Tweaks Style is one of the styles that highlights locations and is a good starting point for testing this functionality. You can adjust the layout and styling afterwards to meet your specific design requirements.
WPSLP – Select the Store Locator Plus entry in the side menu.
MYSLP – Select Store Locator Plus in the side menu.
Go to the Settings Tab and select the View subtab.
Click on the activate button on Default With Font Tweaks in the style gallery.
If you have the WPSLP Experience Add On or the MYSLP/Professional plan an additional setting is available under labels and will show you a new field named Radius first entry under the Settings/Search user interface. When a Radius First Entry has been set it will appear as the first field in the radius drop down that the user sees on your search form. The value will be set to the default miles that you have set in Radii Options. The other radiis you have entered to allow users to search will appear in numerical order in the dropdown but the label for the first entry will appear first regardless of numerical order.
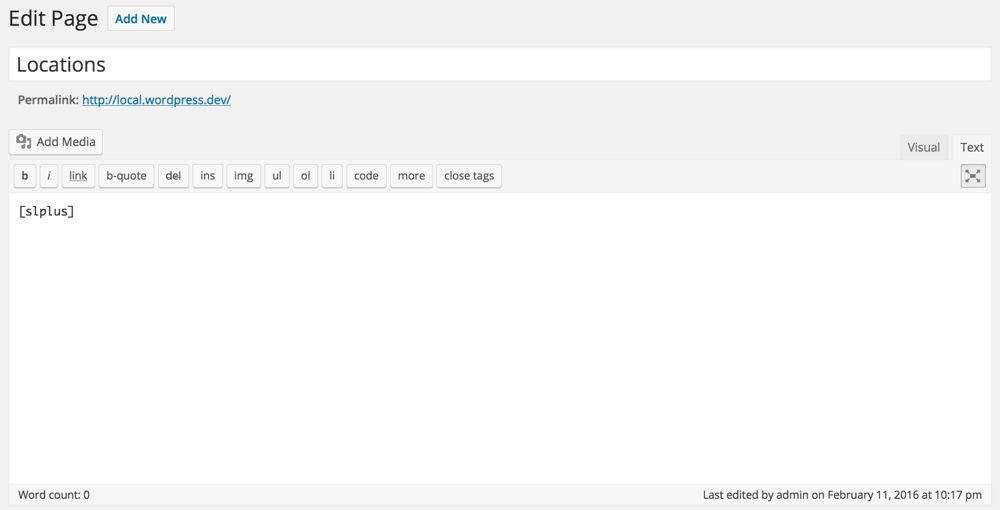
To create a locator page that has a zip/postal code search box, a map of your locations, and the results list put the [slplus] shortcode on a page or post.
Go to Pages in your WordPress admin.
Create a new page.
Name it “Locations”.
Enter [slplus] in the main content area of the page.
Details
First create a new page for your WordPress site where the Store Locator Plus plug-in will reside. Add the shortcode (a special label inside of square brackets that is used within WordPress pages and posts to display the output from a plugin). You place a shortcode within the text of your page or post and the plugin will “do it’s magic”
Locator Shortcode
To display the Store Locator Plus search form, map, and search results using the defaults you have setup via Map Settings in the admin panel, use the following shortcode:
[slplus]
The base plugin will replace the shortcode with a search form, a Google Map, and a results section below the map. Depending on how you have the plugin configured the map and results may start by showing some or all of your locations.
Hint: Do not copy and paste off this page or all you will see is the text. You must type in the shortcode onto your WP page.
SLP slplus shortcode
Additional Shortcodes can be found under the SLP documentation Shortcodes:SLP