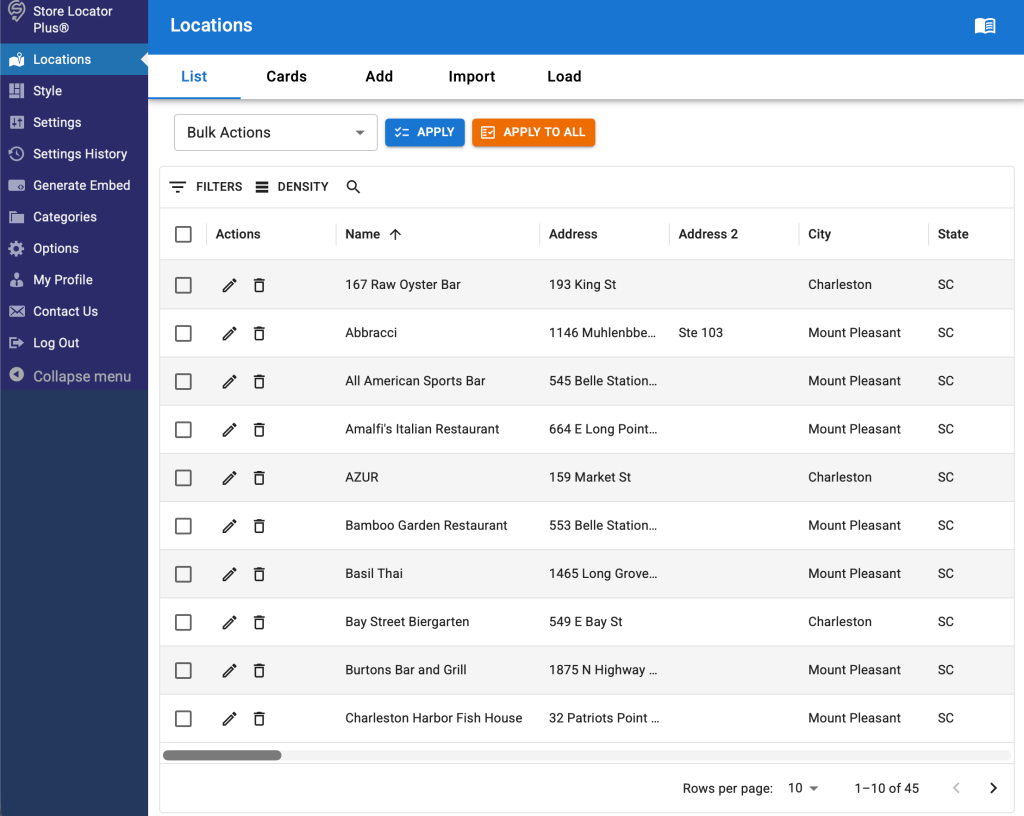
Manage Locations in Store Locator Plus® (SLP) by clicking on Locations in the sidebar after you’ve logged into your account.
SaaS users can login via the SLP Dashboard.
for Store Locator Plus®
Details for the Enterprise level SaaS service. Many features are present in the SLP for WordPress : Premier plugin.
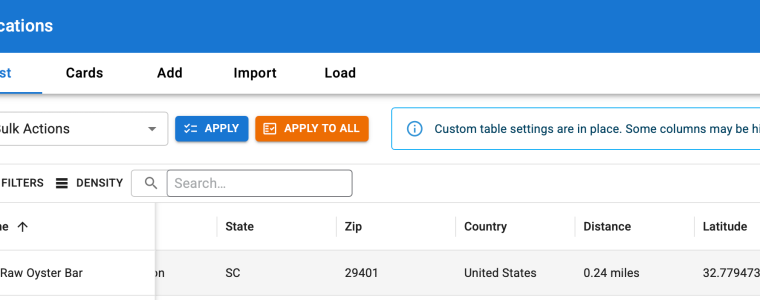
Manage Locations in Store Locator Plus® (SLP) by clicking on Locations in the sidebar after you’ve logged into your account.
SaaS users can login via the SLP Dashboard.
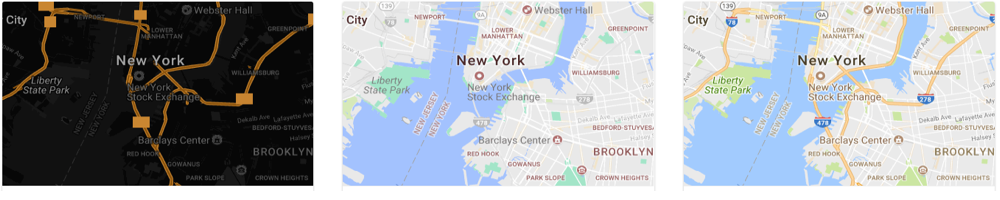
Store Locator Plus® Professional subscriptions support the Google map style rules. These rules let you control the “inner style” of the map itself. You can turn off built-in Google map icons, change the width or roads, change the font size of various labels. Some styles will even change the color of the land and water bodies if you are truly looking to customize the map style to better match your brand. You will find some basic examples of these JSON settings below or you can use the Google styling wizard to create your own custom look and feel.
Settings > Map > Map Style
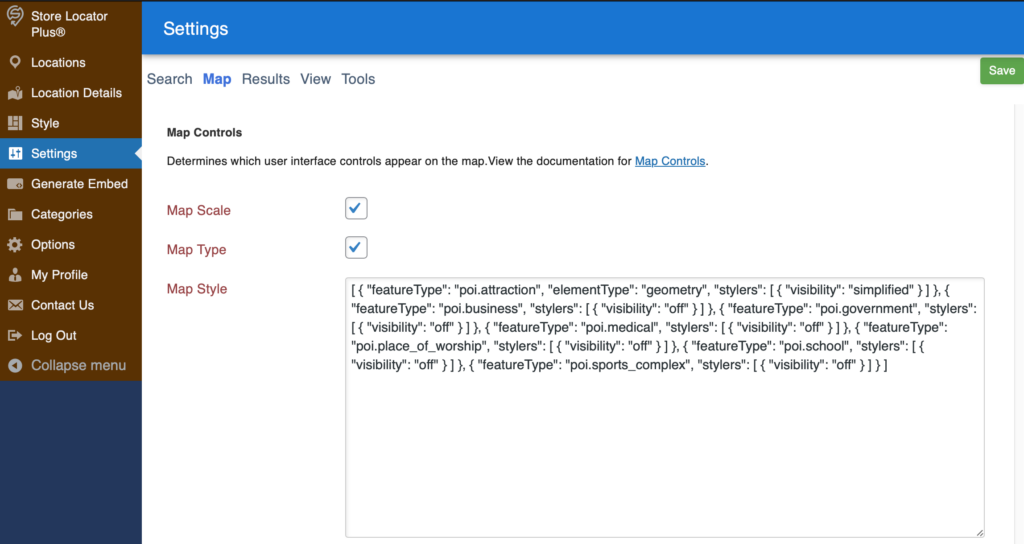
Go to the Legacy Map style wizard to generate the JSON value to copy and paste into this field.
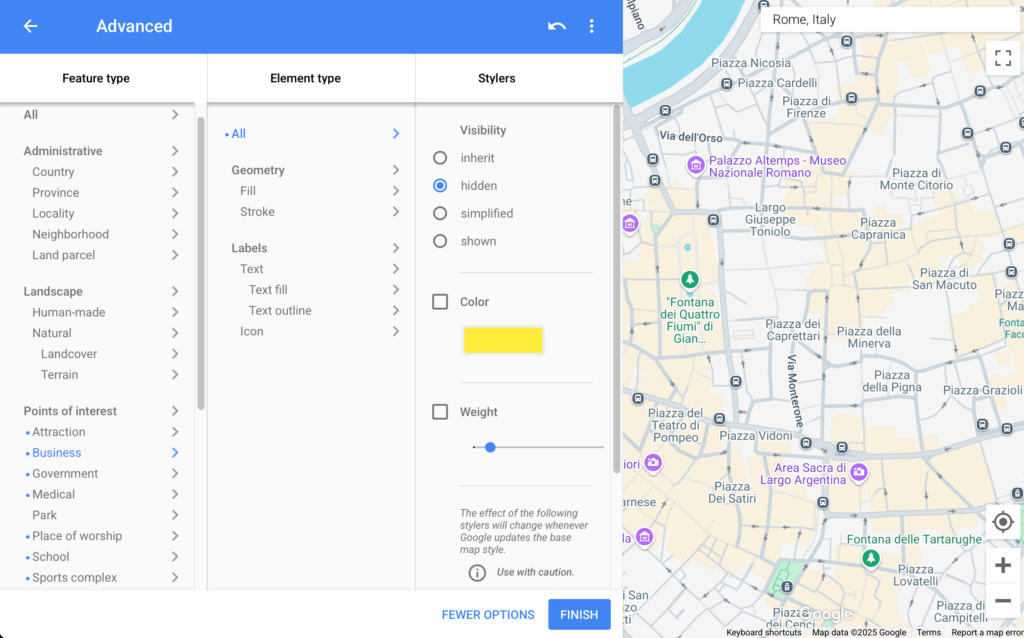
The value of this entry is a Google Maps JSON style string. Some of our Plugin Styles in the Style Gallery will set this for you.
The February 2025 update to Store Locator Plus® includes a lot of changes to the Store Locator Plus® Software as a Service (SaaS) platform. As we work towards modernizing the user experience , changes are primarily to the user interface to pare down the legacy WordPress framework that runs our service. As part of that effort, we have changed the main menu interface including renaming some items and moving some key features to top-level positions in the sidebar menu.
This guide is intended to show you new features as well as where to find key elements of the Store Locator Plus® interface.
Note: if you are using our legacy WordPress plugins, many of the changes noted here will not apply to you. Recent events in the WordPress community along with our personal experiences with the “WordPress Plugin Directory gatekeepers” has led us to focus on improving our SaaS offering. Many new features and interface updates are likely to remain SaaS-only options.
The Info page is now attached to the top-most main menu item labelled Store Locator Plus® that is on the top left of the sidebar menu.
The Info page shows key articles from the Getting Started Documentation as well as current news about Store Locator Plus®.
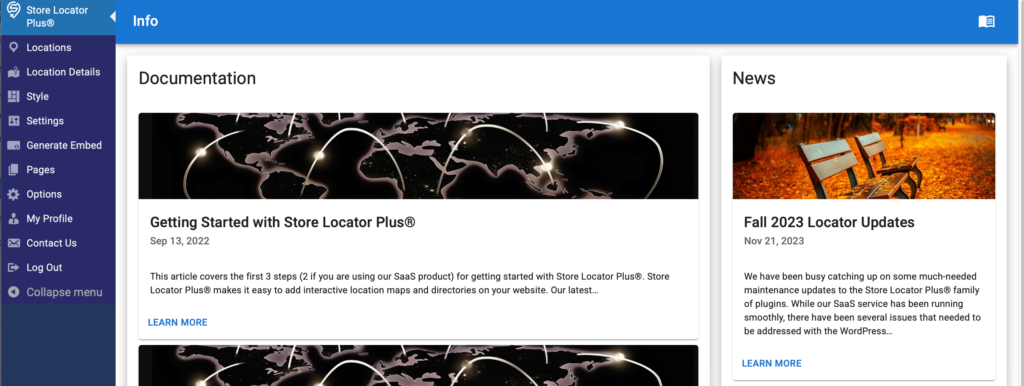
The previous menu location for the info page was at a second level menu under Store Locator Plus® | Info.
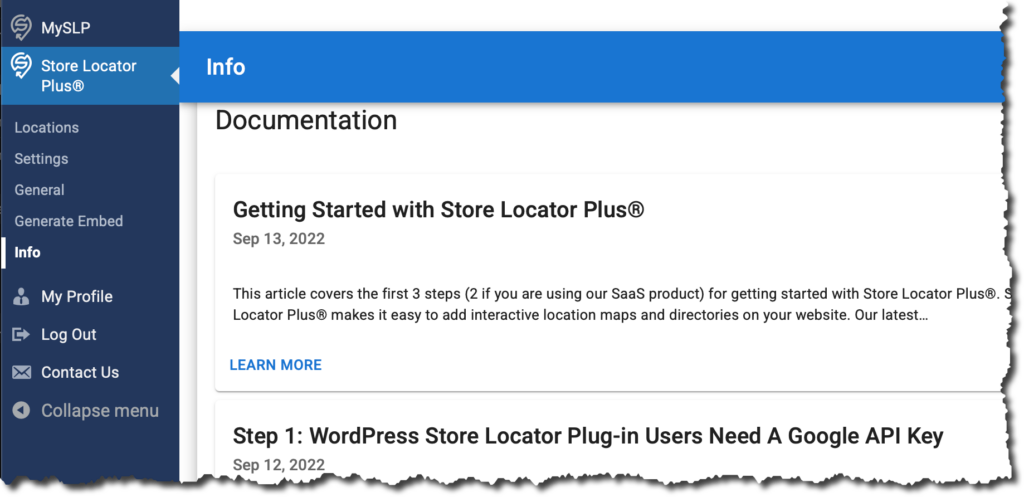
The legacy version of Store Locator Plus® included a simplified user interface for managing locations and was labelled “MySLP” (the original project name we had assigned to our SaaS offering).
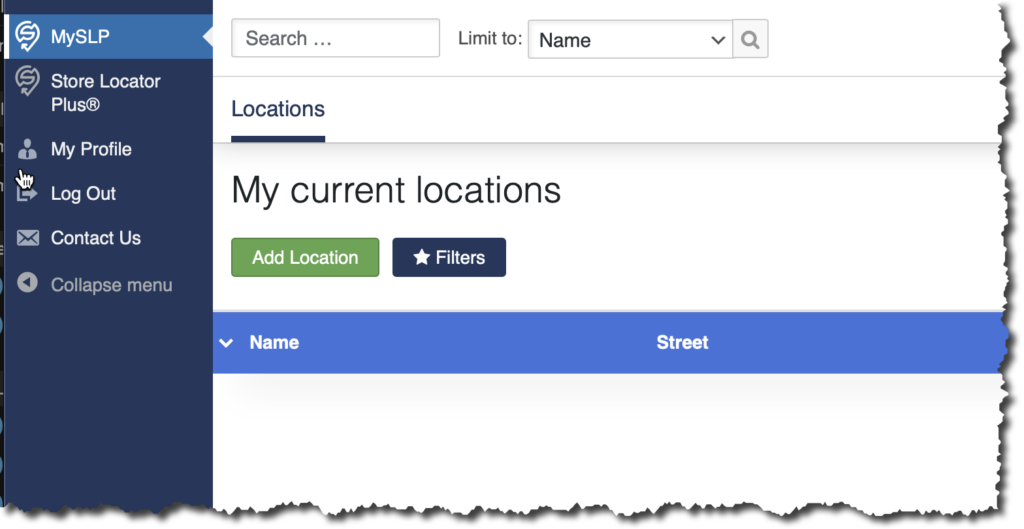
The menu changes for the 2025 release keeps this in the sidebar menu where it has been renamed Locations.
The locations page provides a simplified interface built in the React JavaScript framework. It provides a simpler interface for viewing basic location data and includes both a table-style list format as well as a modern cards style interface.
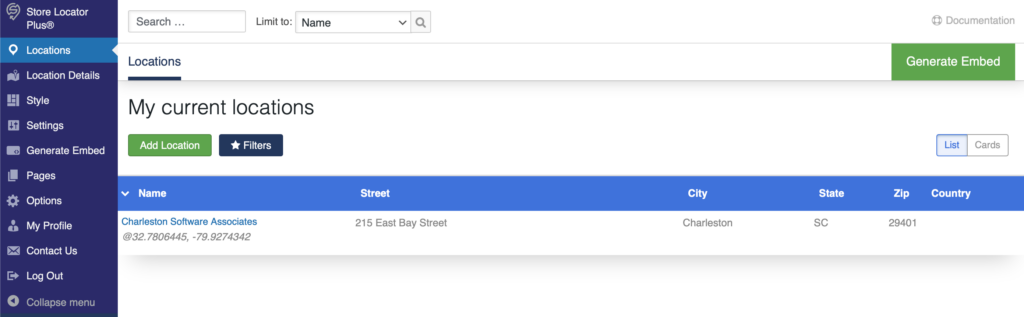
The old location for the Locations page was at the top-most sidebar entry and was named MySLP.
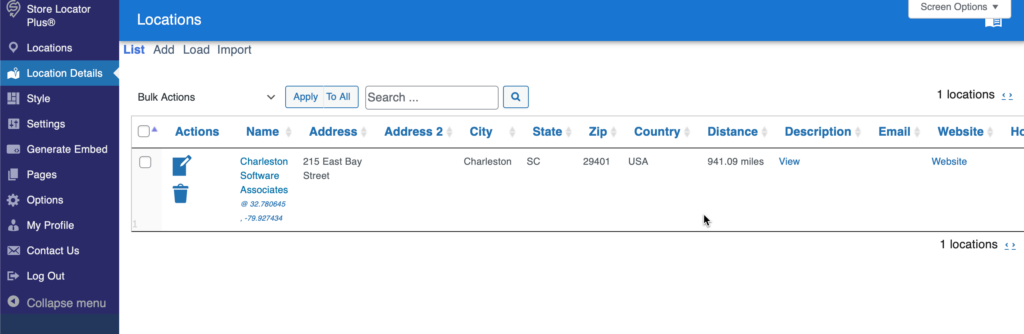
Location Details is where you will find the interface for performing more complex actions as well as viewing more of the location data fields in a table format. This page includes advanced location management features such as performing bulk actions — actions on multiple locations at once. You can also find tools for loading locations from another Store Locator Plus® install including legacy WordPress plugin sites or for importing a long list of locations with a CSV import. You can view up to 999 locations at a time on the table presentation as well as view and sort by various location attributes.
This interface is based on the legacy WordPress plugin with many of the features found here on the development schedule to be moved to the more modern React-based interface.
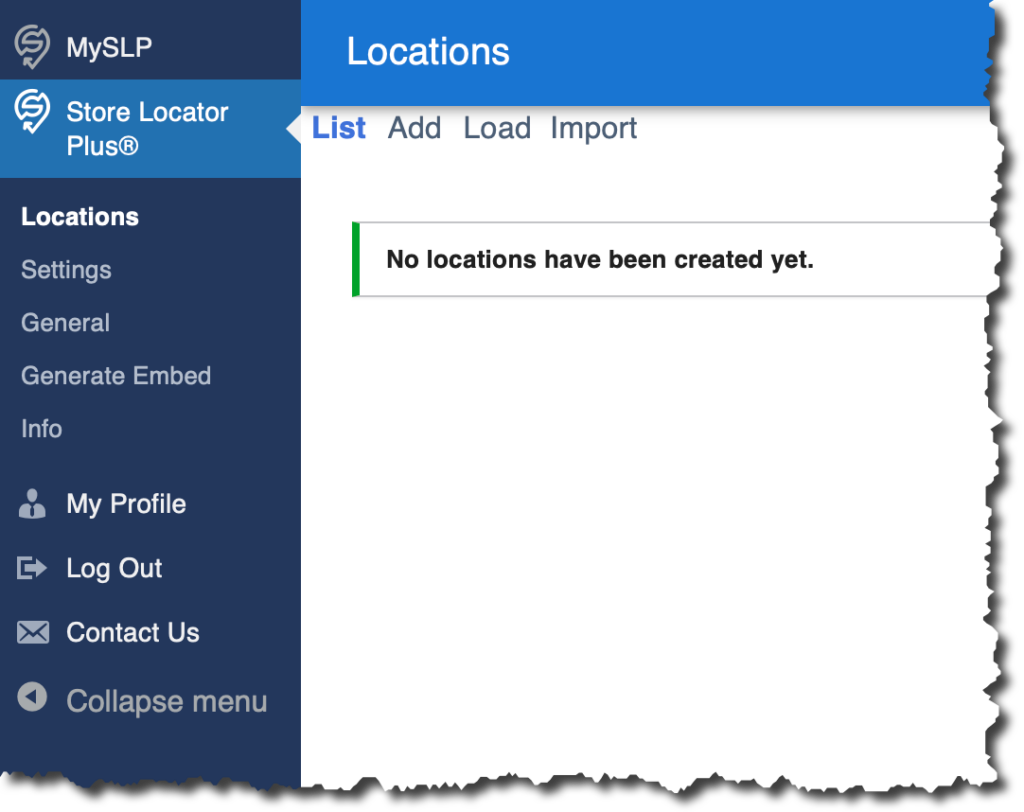
The legacy interface included this feature as a second-tier menu under Store Locator Plus® | Locations.
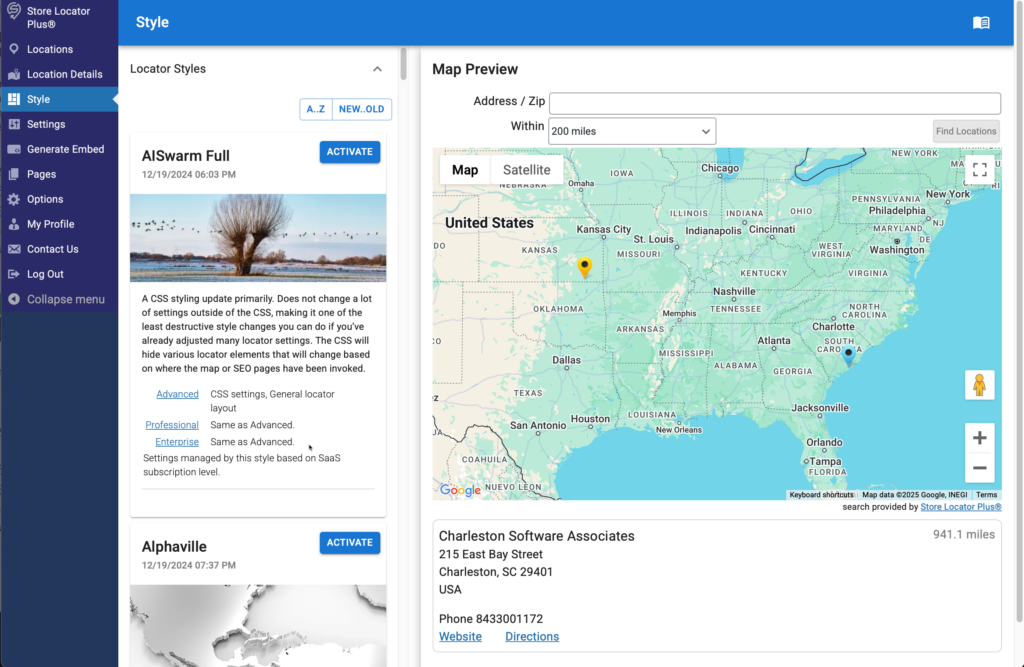
The 2025 update includes a completely new interface for loading various pre-crafted locator styles for your map interfaces. This feature provides pre-defined CSS styling as well as Store Locator Plus® settings that change the entire user experience with the Store Locator Plus® maps and directories. This provides a quick way to try different interface designs on your locator installation without having to guess at various settings and CSS styles to see which works best.
Included in the 2025 update for this feature is a preview of the interface that updates whenever you load a new style. You no longer need to load a locator style then go to the Generate Embed tab to see what it looks like.
Many web designers use this features as a starting point to find a style that is close to what they are looking for, then modify the settings and CSS details to fine tune the look-and-feel for their website.
Previously, this feature was found in the Store Locator Plus® | Settings page on the View tab and was labelled “locator style”.
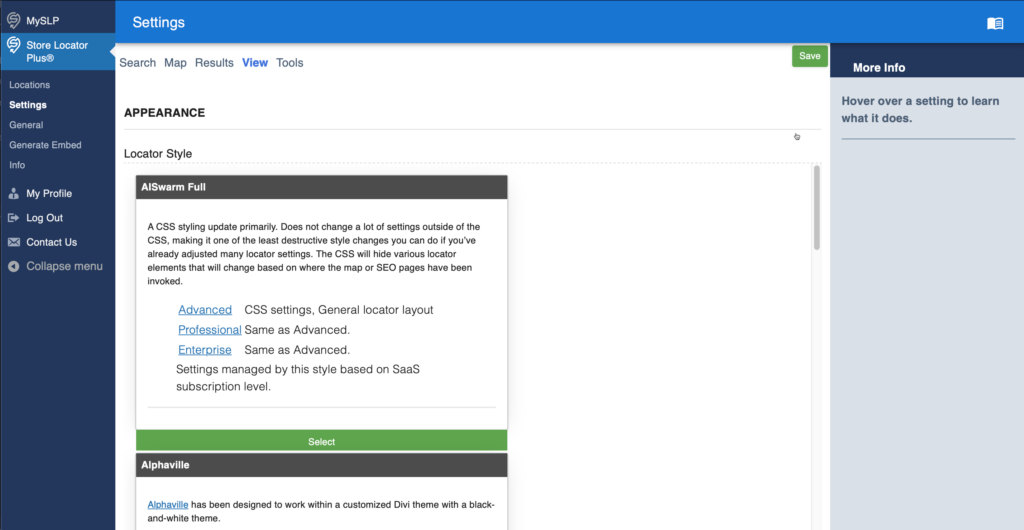
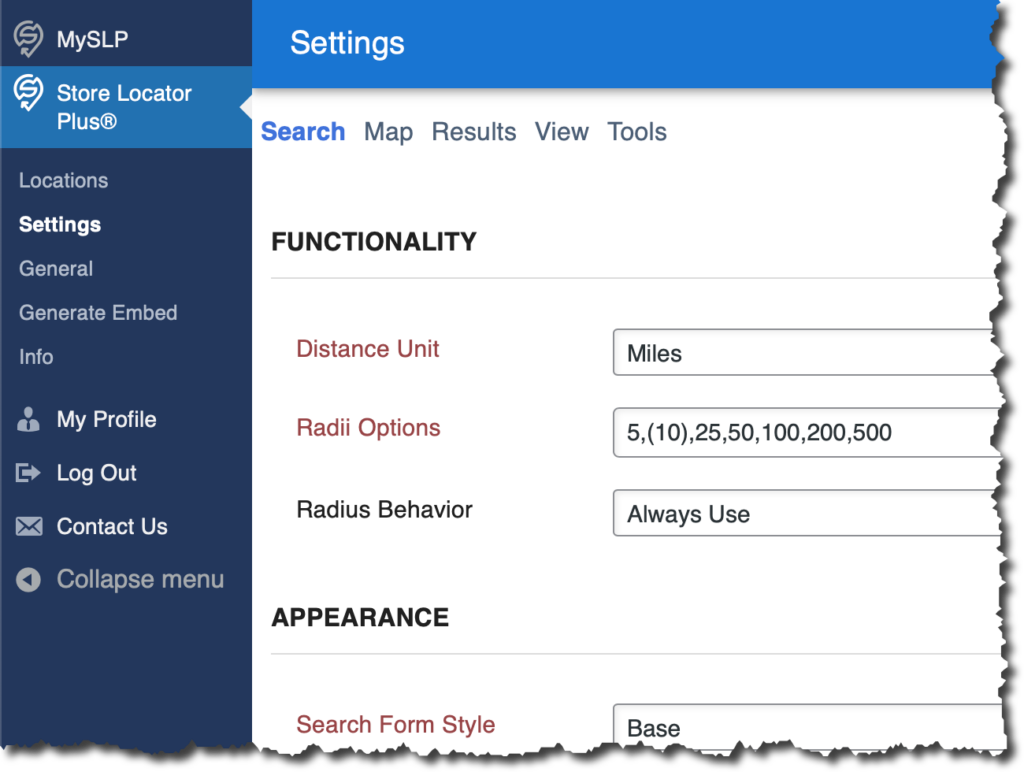
The previous second-tier menu under Store Locator Plus®/ Settings is now a top-level sidebar menu.
Various settings change the user experience for your maps and directories. Settings can be changed for search, map, and results elements to the interface.
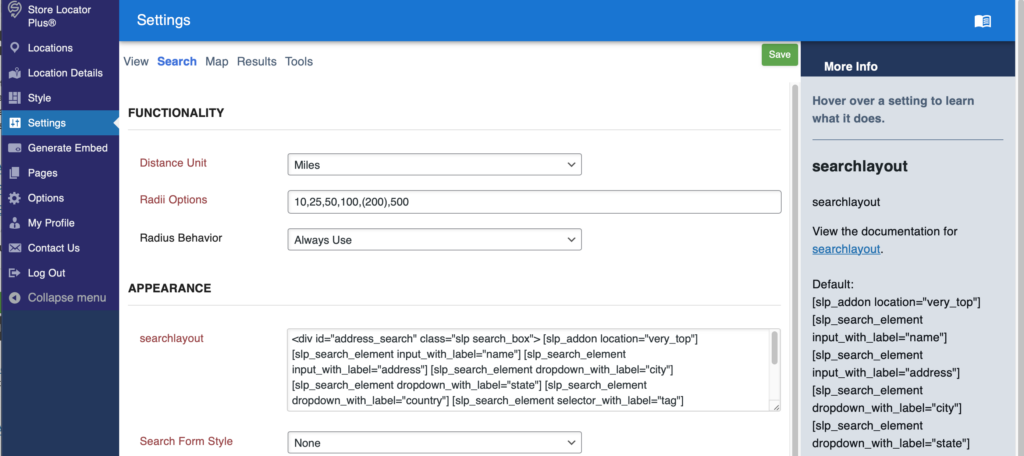
The legacy location for Settings was previously under the Store Locator Plus® | Settings sidebar menu.
When you are ready, generate and retrieve the HTML code that will be embedded on any website or app where you want to display the Store Locator Plus® map or directory.
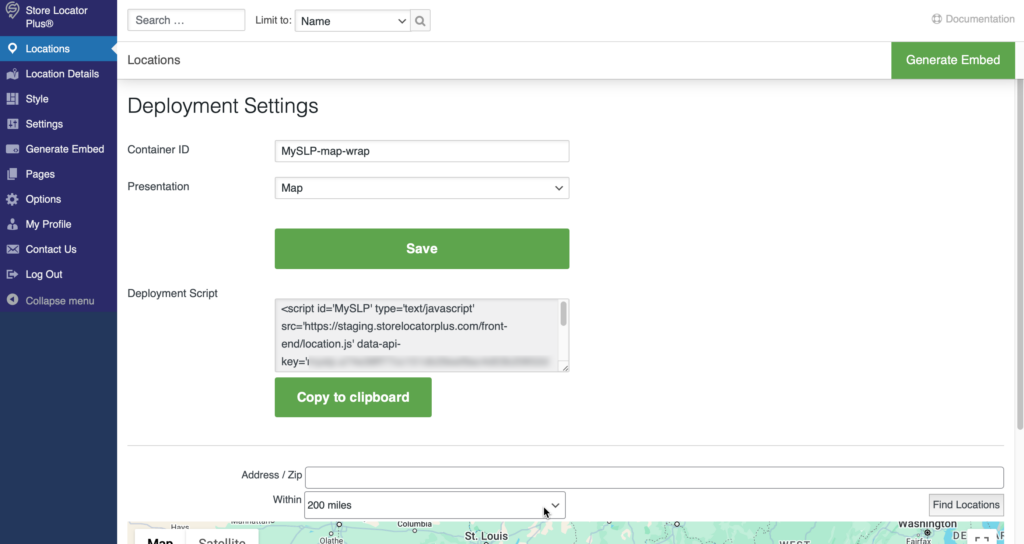
This menu item was previously a second-tier entry at Store Locator Plus® | Generate Embed.
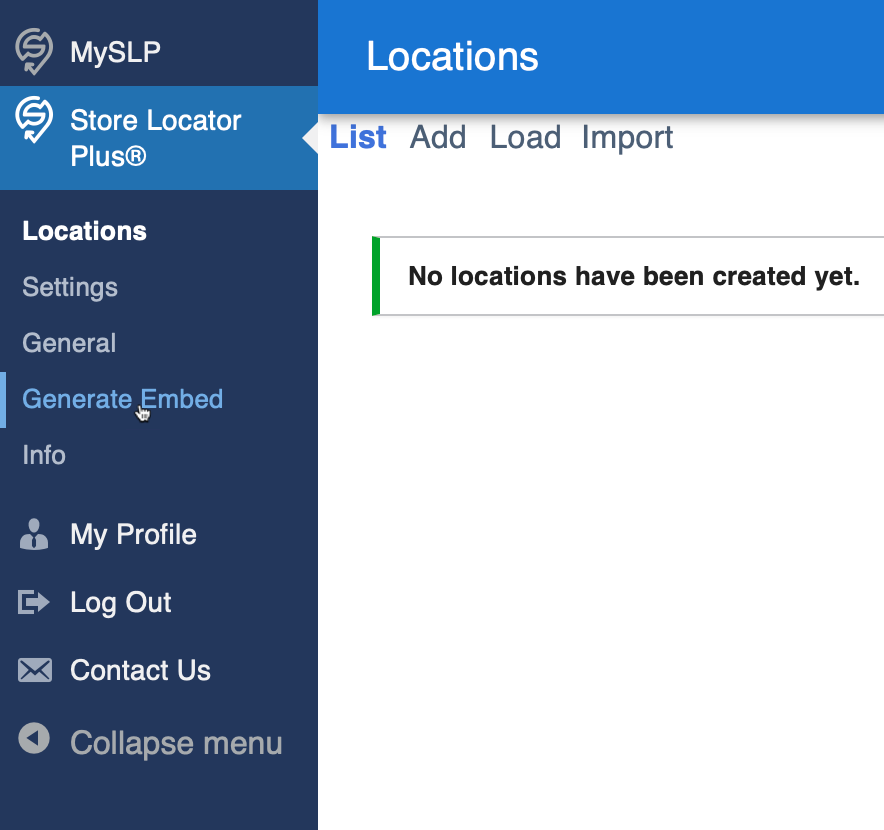
The Options page includes various settings that impact how the Store Locator Plus® app behaves and/or displays information on background processes that may be running. This is primarily used for Enterprise level processing of locations. For enterprise users running ongoing location loading or data management processes you can see scheduled actions here. Future application management options will also appear on this page.
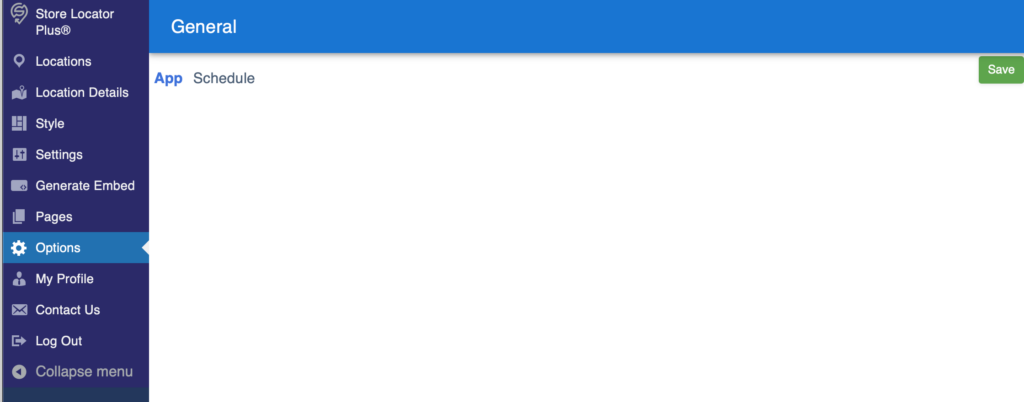
This page was under the Store Locator Plus® | General sidebar menu, and has been renamed “Options” in the newest release.
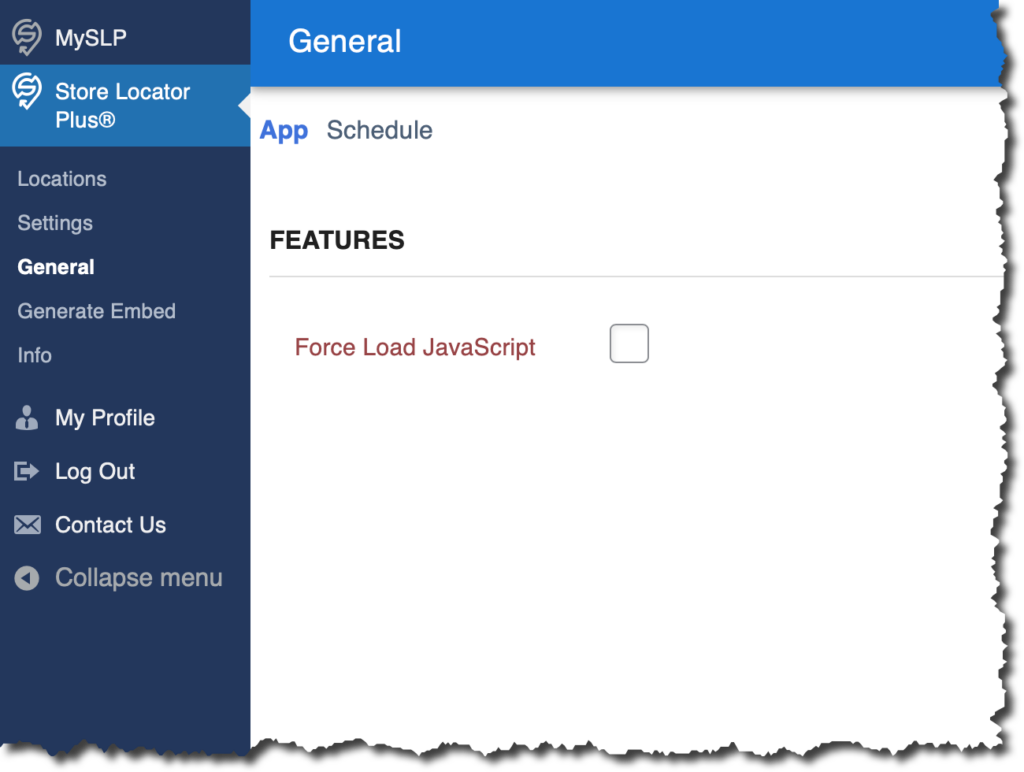
Note: Force Load JavaScript was a setting only used with WordPress plugins and was provided to support malformed themes. This option does not apply to the SaaS release and is no longer supported in the WordPress plugin.
My Profile is where you can update your plan, change your billing details, or cancel your subscription. It shows the current limits and usage on your account, what features are available, and a history of your interaction with the SaaS platform.
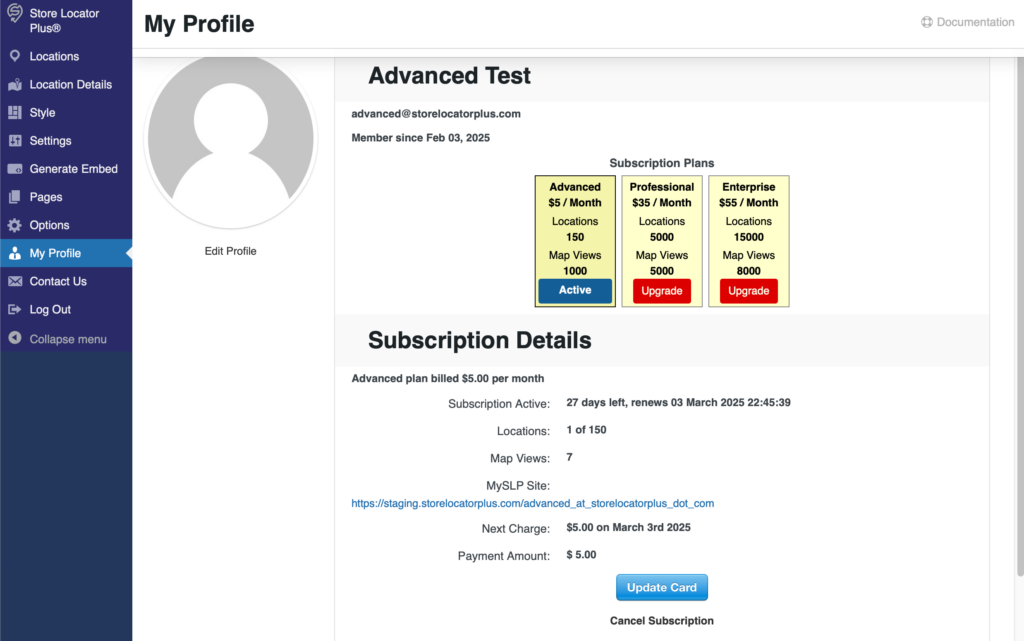
This is unchanged from the legacy release.
Contact us to send a message to the Store Locator Plus® support team. When your message is sent , support will receive details about your account with your message.
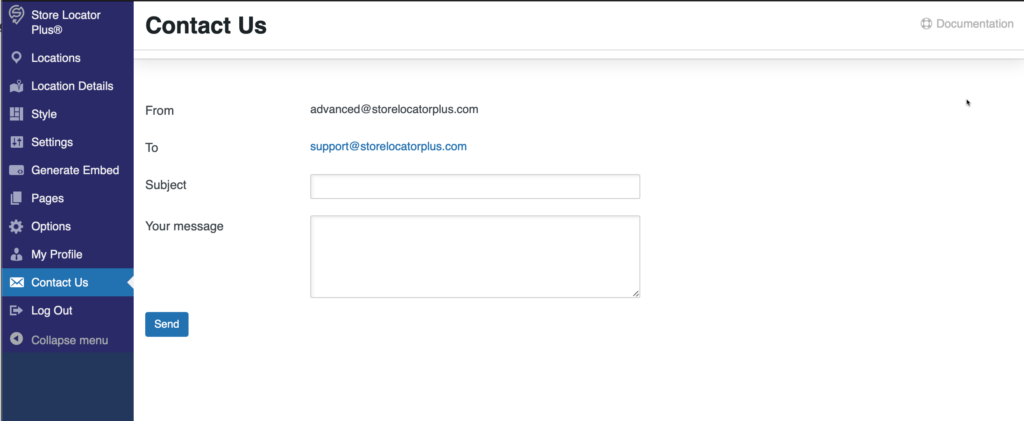
This menu is unchanged from the legacy release, other than repositioning the location to be above the “Log Out” option.
Logs you out of the Store Locator Plus® system.
This feature is unchanged.
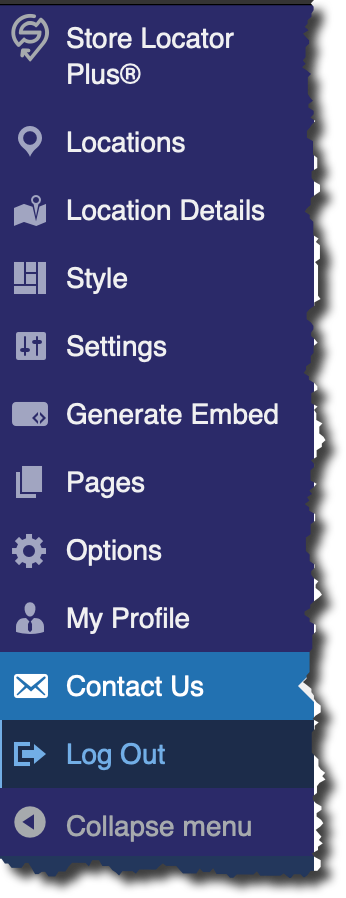

Locations are added to Store Locator Plus® via the sidebar menu via the locations submenu. This option presents a list of all locations along with a menu option to add a location via a web form.
If you have many locations and have either the Power add-on enabled for the plug-in or have signed up for the Professional level plan for the mySLP SaaS you can import them via a CSV import file.
(This section has been updated to reflect updates in SLP version 5.5.)
There are settings under the General tab for Admin , User Interface, (Server and Data tabs in earlier versions, now are included under the APP tab). This documentation has been updated to reflect the Google API changes for our WPSLP self managed plug-in customers. The tab “App” Map is where you will enter your own Google API keys. MySLP customers do not need to worry about that. We do it for them.
The Admin tab is where your SLP Premier subscription Accounts ID , Log Schedule Messages, and other info is located. There is also a Reset Manage Locations button available for use to reset the back end Manage Locations display page to the default view (10 locations per page view). This feature was previously only available with the free SLP Janitor Add-on.

WPSLP Premier customers will need to add their User ID and subscription ID under the Store Locator Plus / General /Admin tab. To find your Premier account information, log into WordPress Store Locator plus account .
Scroll to Premier Subscription Info
Thank you for being a Premier Member. You will need to enter your User ID and Subscription ID via the Store Locator Plus General Settings Tab under the Admin section in order to get the latest updates to the Premier Plugin.
Your user ID is: (A number will be here)
Subscription id is : (numbers will be here)
Our software-as-a-service platform, MySLP, runs on many different web builders and mobile frameworks. If you are using MySLP you cannot easily create pages that contain the [slp_directory] shortcode used in the Store Locator Plus WordPress plugins. There is another way to do this with our SaaS offering.
This new MySLP feature makes it easy to add a directory of locations to any platform. Display your location directory on Weebly, Wix, WordPress, or any website management platform that supports JavaScript.
When using MySLP you typically add your locations and set your map experience properties. The next step is to go to the Generate Embed page on your account dashboard to get the JavaScript needed to display the locator search form and map on your site.

When displaying a directory, you normally do not want the location search and map to appear. You can use the data-presentation attribute with your script to tell MySLP what type of location presentation you would like to show on your site.
Here is a full script example from our test server — you can see where we added data-presentation=”directory” to the standard embed script.
<script id="MySLP"
type="text/javascript"
src="https://dashboard.test/front-end/location.js"
data-presentation="directory"
data-api-key="myslp.8322ee3d5681db51162fa332d76f74171b80b89f7a15df054c989f2d75f91a08"
data-rest-path="//dashboard.test/enterprise_at_slp_dot_guru/wp-json/myslp/v2/locations-map"
data-div-id="MySLP-map-wrap">
</script>
Adding data-presentation=”directory” to the script will use the directory style presentation where the <script…> embed appears versus the standard MySLP output.
The default setup for the directory style presentation is to show a list of states (or provinces) in a list.
Clicking on a state will show a list of locations using the results layout configuration you have set for Store Locator Plus®.
By default there is no search form, map, Store Locator Plus® tagline, or distance displayed.

You can style the directory output by manipulating the CSS on the site where the script has been embedded. The method for adding custom CSS will depend on the platform you are using to host your site.
To create a horizontal list of states, add the following CSS rules (learn more about flex styling at this site) to your site:
.slp_directory_list.slp_directory_style_list {
    display: flex;
	  flex-wrap: wrap;
    justify-content: space-between;
}
.slp_directory_entry {
    padding: 0 5px;
}
[myslp-signup-form]


Premier Subscription Licenses must be validated on the primary site of a multi-site install. This is typically the FIRST site in your site list, but can be changed via wp-config. If you are using multi site you should know which site is the primary Blog ID. Adding your Premier id and your license on your sub sites will not validate the WPSLP Premier license. (This information only applies to WordPress SLP and not MYSLP.
Communication with the SLP license server is required for any licenses to be validated. You can check if standard web requests are working between your WordPress install and SLP. This can be tested from within your PHP environment with a simple PHP script that uses a ‘curl’ or ‘file get contents ‘operation.
You can also click on the Store Locator Plus / info tab in the back end of the plug-in. If you are seeing “Latest News” with fairly current dates then the problem is most likely not a blocked communications via a firewall. In those cases the issue is most likely an incorrectly typed subscription ID or you have entered the info on the wrong site of a multi-site install.

Our MYSLP Enterprise level users or WPSLP Premier subscribers will find several additional map controls to enable or disable built-in Google Map elements. A simple checkbox allows users to turn the Full Screen and zoom controls on or off in addition to the previously-available Hide “Stick Man” , scale, and type controls.

This option is also available to WordPress plugin users with an active Premier subscription.

Included in MySLP Enterprise and WPSLP Premier.
Find it under Settings | Results | Results Interaction

The text entered in this setting will be replaced with a long pause (,,) in the telephone dialer hyperlink when the Use Dial Link For Phone option is enabled.