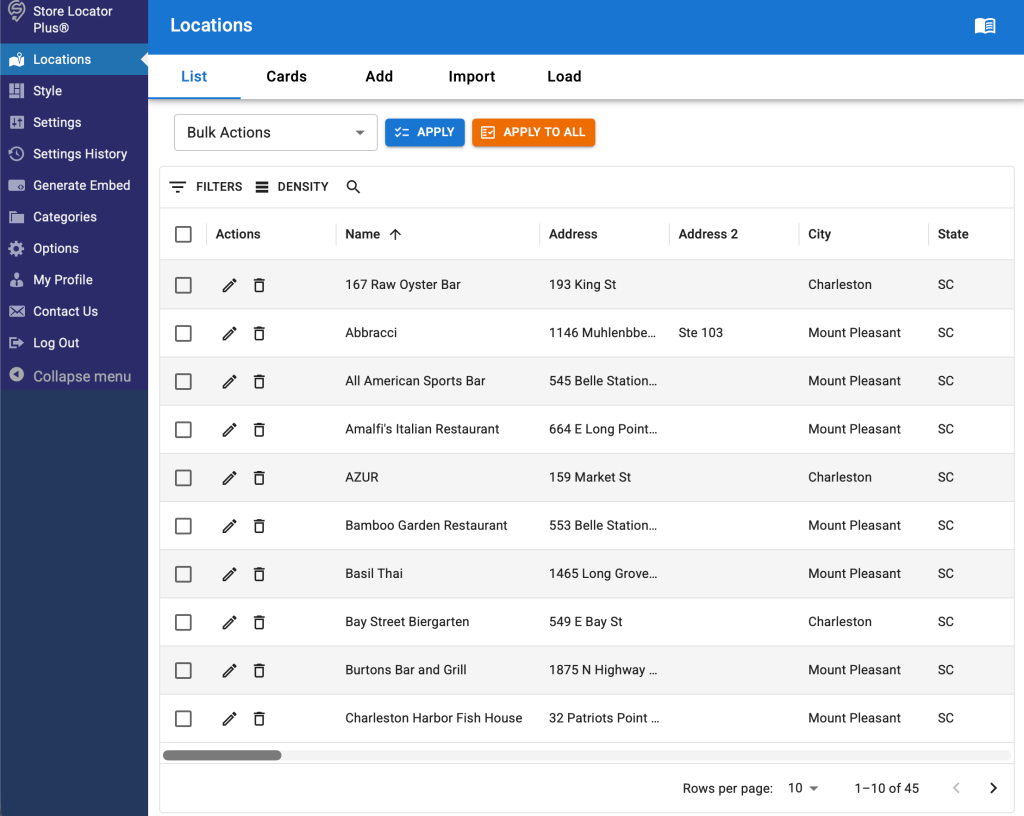
Manage Locations in Store Locator Plus® (SLP) by clicking on Locations in the sidebar after you’ve logged into your account.
SaaS users can login via the SLP Dashboard.
for Store Locator Plus®
Details for the Professional level SaaS service. Many features are present in the SLP® for WordPress : Power plugin.
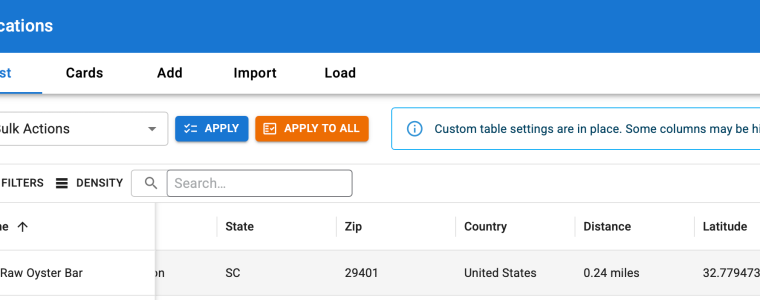
Manage Locations in Store Locator Plus® (SLP) by clicking on Locations in the sidebar after you’ve logged into your account.
SaaS users can login via the SLP Dashboard.
All Store Locator Plus CSV files must start with a file import header that indicates what data is in each column.
The first row of the Store Locator Plus import file should look like this, you do not need the (sl in front of the header name for the basic import function to work):
sl_store,sl_address,sl_address2,sl_city,sl_state,sl_zip,sl_country,sl_latitude,sl_longitude,category,sl_tags,sl_description,sl_email,sl_url,sl_hours,sl_phone,sl_fax,sl_image,sl_private,sl_neat_title
Please see the Example CSV files post for a sample base file with a header.
To speed up imports you should NOT include columns that have no data.
For imports that did NOT start out as a CSV export from the SAME SITE you should NOT have an sl_id column.
For geocoding, assigning a latitude and longitude, to work during import you need to have at least one of the address fields in your file and preferably these main fields:
All field names can drop the leading “sl_” for readability. For example sl_address can become address. The field names usually match the field label, for example if you have the Experience add on or the Professional level or higher SaaS plan , you can have “Featured” and “Rank” as import columns.
Changing the results layout is a feature provided for Professional level accounts. Users of the self-managed WordPress plugins will find this in the Experience add on.
The default format for the results string uses the numerical encoding for the various data elements that can be rendered. This default string format is present in the base Store Locator Plus plugin. You can reset to the default at any time by deleting the entry in the Results Layout field under Settings/Results/Appearance and saving the settings.

Locations are added to Store Locator Plus® via the sidebar menu via the locations submenu. This option presents a list of all locations along with a menu option to add a location via a web form.
If you have many locations and have either the Power add-on enabled for the plug-in or have signed up for the Professional level plan for the mySLP SaaS you can import them via a CSV import file.
Reports are included with the Professional or Enterprise plan.
Current reports include:
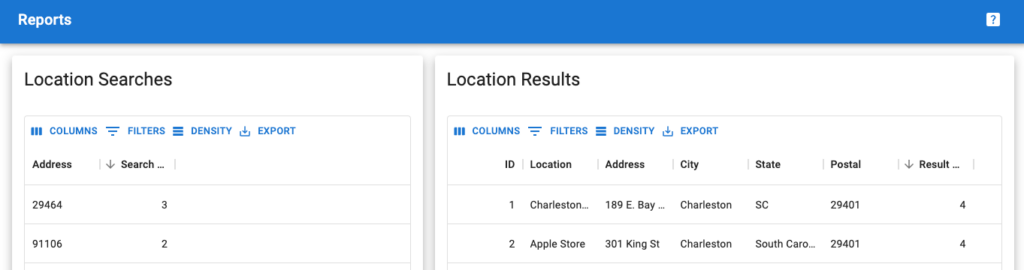
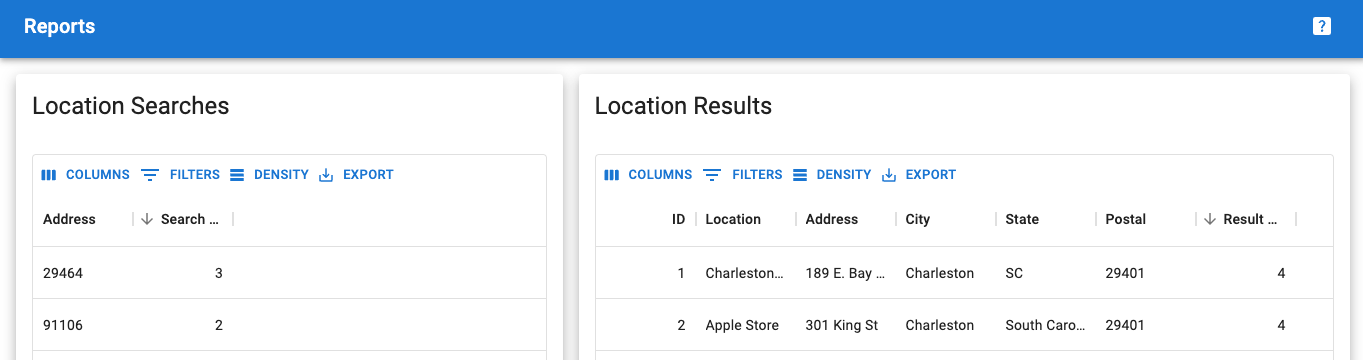
Location Results reports are included with the Professional or Enterprise plan. This report is designed to show the locations that were returned by users entering addresses on the search form when looking for locations. This can be useful for determining which locations are appearing most frequently for your site visitors.
To view this report you’ll need to turn on reporting features as outlined in the Reports documentation.
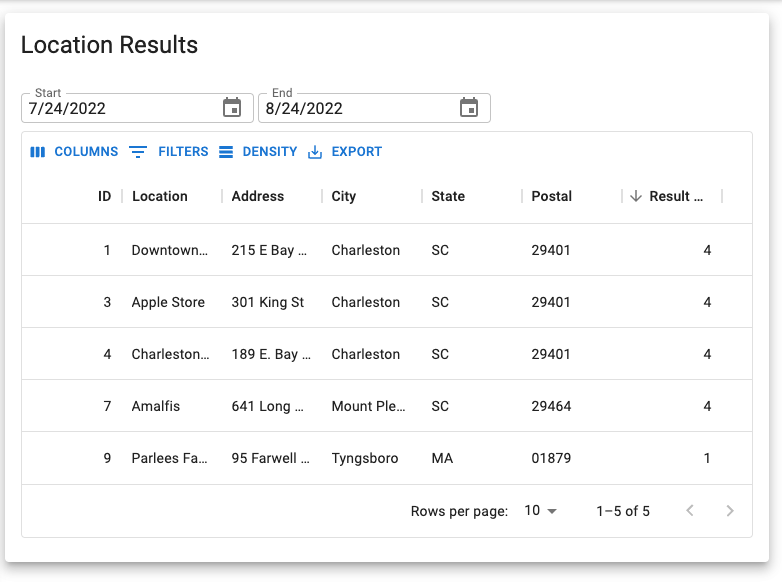
This report will show up to the top 500 locations returned within the date range selected.
Location Search reports are included with the Professional or Enterprise plan. This report is designed to show what addresses users are entering on the search form when looking for locations. This can be useful for determining areas where your site visitors are looking for your product or service.
To view this report you’ll need to turn on reporting features as outlined in the Reports documentation.
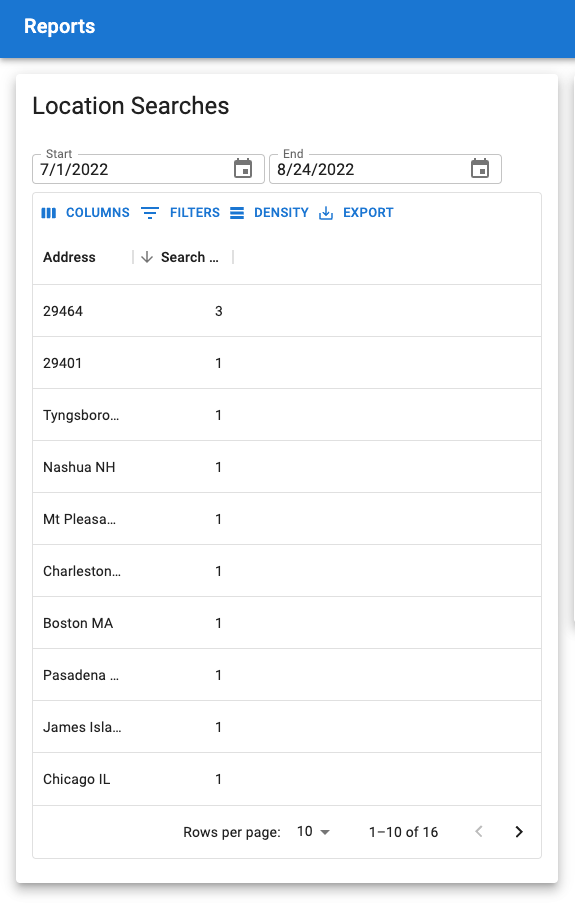
This report will show up to the top 500 searches within the date range selected.

WordPress environment is setup and configured including activation of the following plugins
In addition map service (Google API keys) should be in place and some locations should be added to the system.
A page has been created with the [slplus] shortcode present and the map is rendering properly.
Users are logged in as a WordPress administrator (the process will be slightly different for SaaS users).
Create a location category and attach it to an existing location.
The new category should appear on the category list on the page.

The category is assigned to the location and appears on the location table.

The search form for the map should show a category drop down.


There are five to seven sections under the Settings/Results tab admin panel depending on which add-ons you have activated. Each section describes when and/or where the results will appear under your map.
Not all of the settings will appear if you have the Advance level plan for SaaS or do not have the Experience and/or the Power add-ons for the basic WPSLP self managed plug-in.
You determine the Number of results you want to appear on the map and locator page as soon as the page loads when you have “Show locations at startup” checked. We recommend 50 for most sites unless you have the Premier add-on or Enterprise level plan (if using MYSLP) which allows less clutter on the map by virtue of “cluster markers”.
The next setting is the radius to search initially when “Show locations at startup” is checked. Leave empty to use the map radius default. Recommended : Set to a large number to search everywhere.
And the third setting is : ” Number to show initially.” How many results do you want to show under the map? This is the part that populates the actual information regarding your locations (under or next to your map depending on the style) with the address, website info, phone, etc.
If you are signed up for the MYSLP, the Professional level plan) additional settings can be enabled , for example do NOT show the results until after a search has been performed”. The setting is labeled “Disable Initial directory”
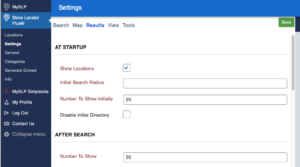

Under the menu for SLP / Settings /Map :
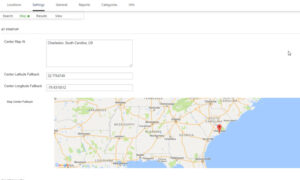
The settings contained in the map panel will change the functionality of the map domain, center map, zoom and appearance.
The following settings are available to manage functionality for both WPSLP stand alone plug-in and MySLP SaaS managed service..