Results Order by display

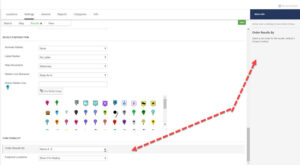
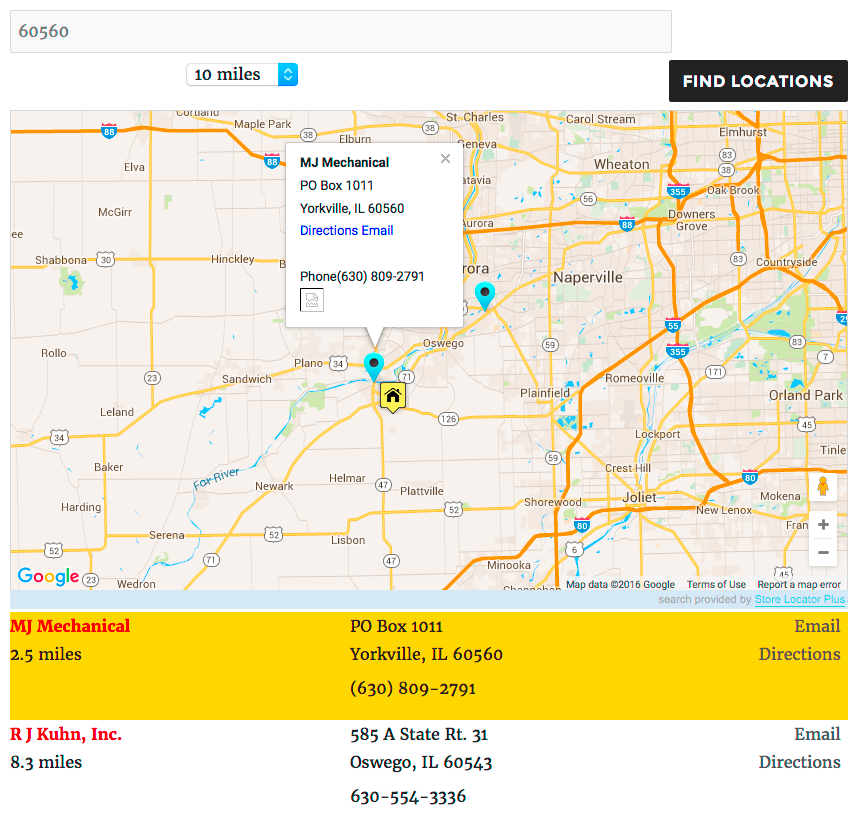
The Store Locator Plus default is to show the order of the  results below your map by distance, i.e. closest to the searched address  listed first.   With the Experience Add-on or the Premier Add-on the  “order by” options  allows you to display the results in a different order.  With the Experience add-on (if you are using WordPress SLP) or the Professional Plan (if you are using the MySLP Subscription) the results order by options  are  under your Settings/Results/Panel

  • Closest list the closest to the search address or center of the map (this is the default)
  • A..Z- alphabetical sort of locations.alphabetical sort of locations
  • Random- random order of locations, changes on each search
  • Featured, Rank, Closest
  • Featured, Rank, A..Z
  • Featured, Closest
  • Featured, A..Z
  • Rank, A..Z
  • Rank, Closest

    Experience add-on allows you to change the order of the results


Store and Category Manager

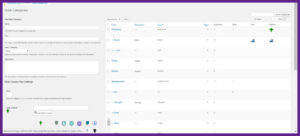
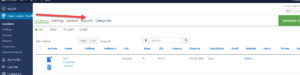
Store and Category Manager interface is available if you have the  Power  Add-on installed (for WPSLP users) or have the MYSLP Professional level or higher. You will see a tab “Categories” in your Store Locator Plus User Interface.

Under side menu MYSLP/StoreLocatorPlus menu

Once you open the Category Tab  you can begin to add categories and slugs or edit existing.  Set Markers and Icons per category (optional) if you want those to appear in place of map markers.  A Bulk action drop down to delete some or all categories is  at the top of the category box.

Settings/Search

You can choose to show the categories that you have created in a drop down menu as part of the search form.  There are additional category selector options available for WPSLP premier subscribers  or MYSLP Enterprise subscribers (example see Checkbox selector). You can add text as a label that will display  at the top of the categories drop down menu, or you can leave blank.  You can also add text for the category select box that will appear in front of the category drop down on the user interface.

Hide Empty Categories Setting

For WPSLP Power add-on users . Do NOT turn this on unless you have   Pages enabled.

Settings/Results

If you want the category icons to appear in results list check off Category Icons

Radius Behavior

Store Locator Plus  Radius Behavior is set to “always use” in the base plugin or Advance level subscription for SLP SaaS

For additional options you would need Professional level  and /or higher for MySLP/SLP SaaS  or the Experience add-on for the WPSLP plug-in  which allows you to extend the functionality beyond the basic “Always Use” setting.  This setting impacts how the radius selector is employed and how locations are filtered before being displayed to the user.

The map radius is set under the Settings /Search tab and the results (after search) is found under the Settings/Results tab”Initial Search radius”.  The search radius selection options presented to the user in the drop down menu is set under the Settings / Search tab  panel.

Results Pagination

Pagination is a bonus feature when you have the Premier subscription  or or MYSLP Enterprise Customers. The setting is under the Settings/ Results tab when the Premier add-on pack has been installed and activated. When Results Pagination has been enabled a new interface class is activated within the plugin that utilizes JavaScript and modified AJAX listener responses to provide the pagination interface to the Store Locator Plus map interface. A previous/next page and an instructional label appears on the top left of the results listings. When users interact with the page buttons the application queries the database in real-time showing the latest location data available as the user pages through the list of locations available within a given radius.

Hide Google Pegman (Street View)

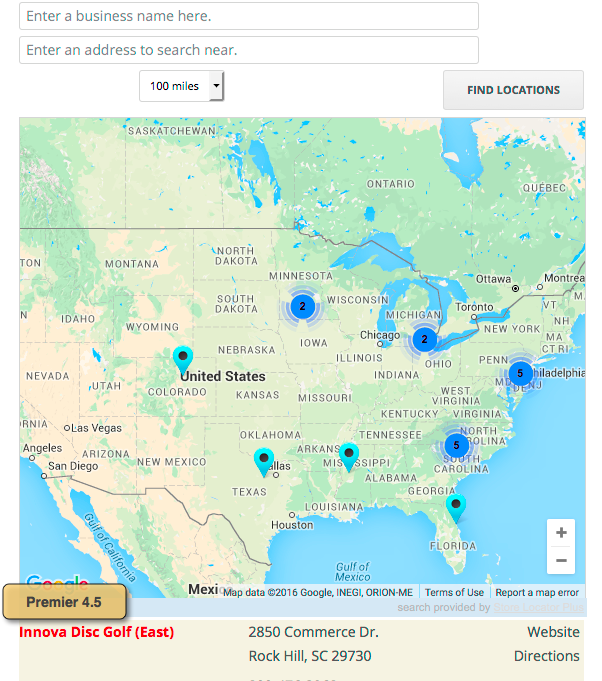
Hide Street View is available as part of the Premier plugin included with the Premier Subscription for Store Locator Plus.  The Street View icon , also known as “pegman” appears on all Google Maps by default.  The Premier plugin allows you to turn this off.

Premier 4.5 Pegman Active
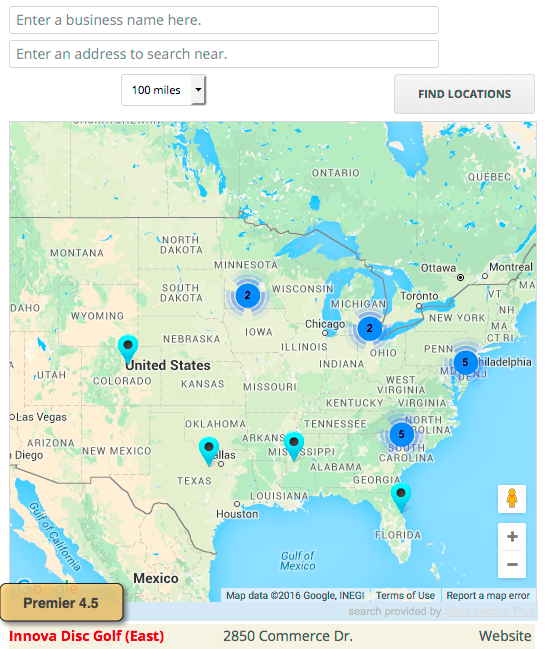
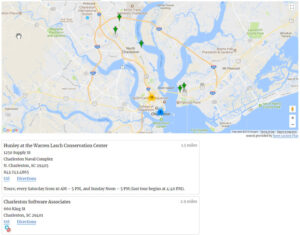
Premier 4.5 Cluster Map Markers
Premier 4.5 Pegman Inactive


Turning Street View On or Off

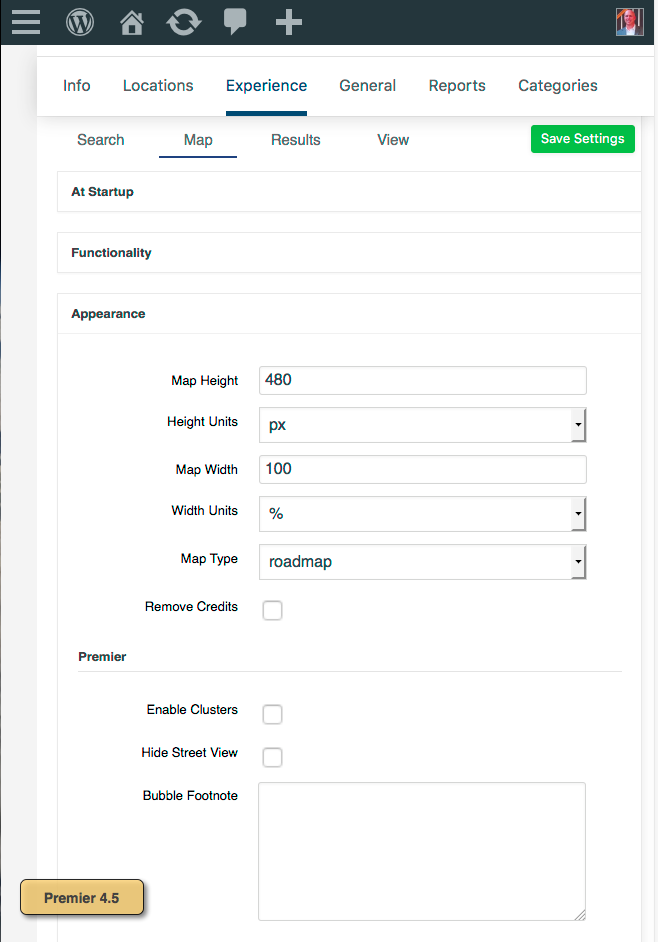
Go to the Store Locator Plus Experience Map tab and look for Hide Street View in the Appearance group.

Premier 4.5 Experience Map Settings

Cluster Map Markers

Cluster Map Markers is available as part of the Premier plugin included with the Premier Subscription for Store Locator Plus or the Enterprise level of MySLP.  Cluster Markers show a single map marker graphic (circle with number inside it) when two or more (you set this number) markers are within close proximity to one another on the current map view.   As a user zooms in on the cluster, the clusters break apart to show the individual markers.  When  zoomed out the individual location markers combine into a single marker graphic with the count of locations represented by the graphic shown in the center. You determine the default radius and minimum number of locations  before cluster map marker is engaged.  Your “center map at” and default radius setting will effect where the map center is located.

Turn On Cluster Markers

Go to the Store Locator Plus : Settings / Map and look under the Appearance section for “Enable Cluster Markers”.

Read the Store Locator Plus news articles about Cluster Map Markers.

Putting Results In A Table Format

Premier Subscribers have access to the Results Header option under the Settings / Results tab in Store Locator Plus. This allows the results listings to be formatted in a tabular output with column headers.

Results Header

Outputs the HTML + shortcodes before displaying results. You may attach the locations to an HTML element other than the default#map_sidebar div by adding id="add_locations_here" to one of your Results header elements (such as a tag). This works well with the Skywalk Rev 01 Plug-in Style for optimizing the table style results under the map.

Read The Feature Release Article.

Tutorial Video

[youtube https://www.youtube.com/watch?v=UKPR7a8lomw&w=560&h=315]

Location Search Enhancements

Premier subscribers  or  MYSLP Enterprise level subscribers will see the following features under the Store Locator Plus Settings / Search Panel.

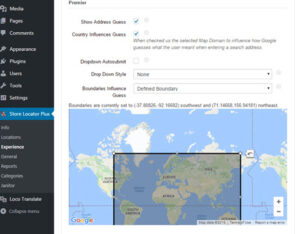
Premier settings to influence Google search

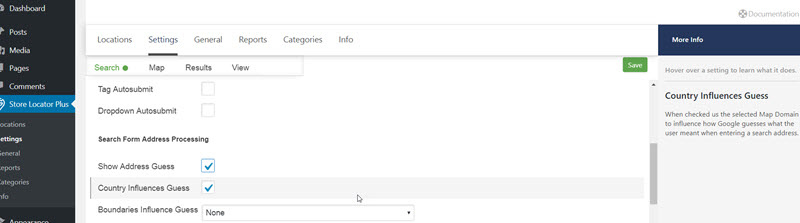
Show Address Guess

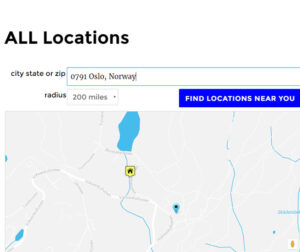
If checked, replace the address the customer typed into the address box with what Google thought they meant. This feature is useful if your site visitor is browsing “incognito: or the location sensor is not activated.

Country Influences Guess

When checked , SLP uses the selected Country Map Domain to influence how Google returns  the location based on what they think the user meant when entering a search address. Google returns the most searched locations based on an algorithm. This feature is coded to redirect the returned location based on your location data points.

Boundaries Influence Guess

Uses a search boundary to influence how Google guesses what the user meant when entering a search address.

  • Locations in your data set will show a rectangle that surrounds all of your locations.
  • Defined Boundary is a rectangle that you define with a map that will appear below.
  • The default is none, using standard Google address lookup rules.

These features are very useful, especially when you have a mix of some non – standard Zip/postal  codes or addresses that otherwise might be hard to find with the basic Google MAP API query.Premier Google influenced guess and Boundary Influemced guessesPremier Search features Show address and show google guesses

Importing Locations With Territories

Importing locations with territories follows the same procedure as importing a standard locations file.  As with all location files the format must be a proper CSV file exported using the UTF-8 character set with no special or non-printable characters.

To load the territory data you must have first enabled the territories feature in the Premier Add On.  You will also need to have installed and activated with the Pro Add On or Power Add On for Store Locator Plus.

Your CSV file should add the following five columns to the file.    Make sure you add the field names to the top of each of these new columns as listed here:

  • territory_distance_unit
  • territory_distance_north
  • territory_distance_south
  • territory_distance_east
  • territory_distance_west

Within each column you will want to have the following values:

  • territory_distance_unit can be ‘miles’, ‘km’, or be blank.  If this is not set to ‘miles’ or ‘km’ it will assume the territory is not enabled for this location.
  • territory_distance_north , south, east, and west should be the distance north, south, east, or west from the location that is part of its territory.

The territory boundaries will automatically be calculated for each location during the import.

Highlighting Locations Served By Territory

Premier 4.5 Territory Results Highlight Example

Version 4.5 of the Premier Add On for Store Locator Plus introduces territories to locations.

Once a location is setup with a territory the map markers that are sent back from the server during a user search will include a ‘in_territory’ property set to ‘1’ if the user’s location is within the territory and ‘0’ if not.   An additional ‘in_territory_class’ property will also be set to either ‘in_territory’ or a blank string.   Both settings are part of the ‘data’ property of the location marker.