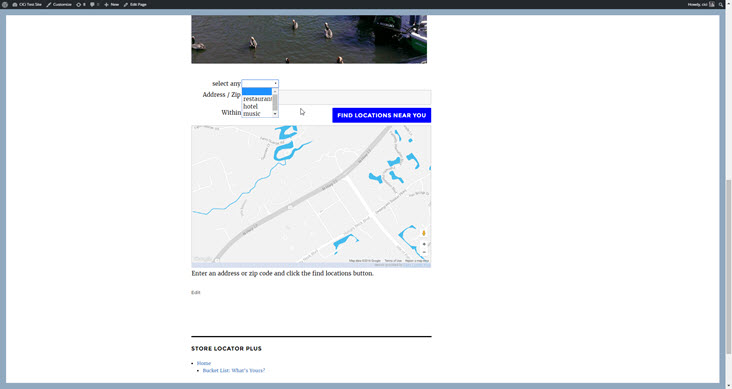
Manage Locations in Store Locator Plus® (SLP) by clicking on Locations in the sidebar after you’ve logged into your account.
SaaS users can login via the SLP Dashboard.
for Store Locator Plus®
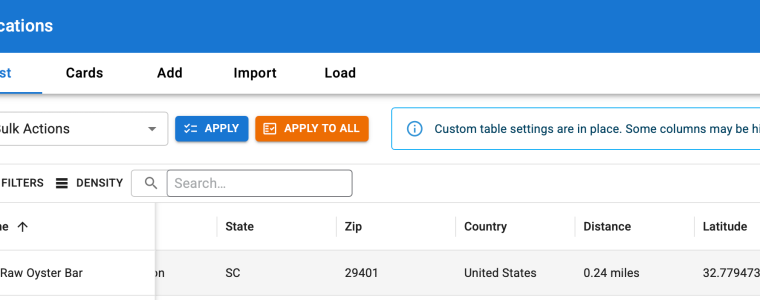
Manage Locations in Store Locator Plus® (SLP) by clicking on Locations in the sidebar after you’ve logged into your account.
SaaS users can login via the SLP Dashboard.
MySLP Professional and Enterprise level services allow for locations to be categorized. Each category for a location can have its own map marker associated with the category. These markers are then displayed on the map to mark the location. (This also applies for those customers using the WordPress SLP plug-in with the Power add-on or Premier)
However, some locations may belong to more than one category. In this case the map marker that is selected to be displayed on the map is determined by the RANK assigned to the category. If multiple categories have the same rank, or no rank, then the first category by alphabetical listing will be the one selected as the “main” category for rendering the map marker.
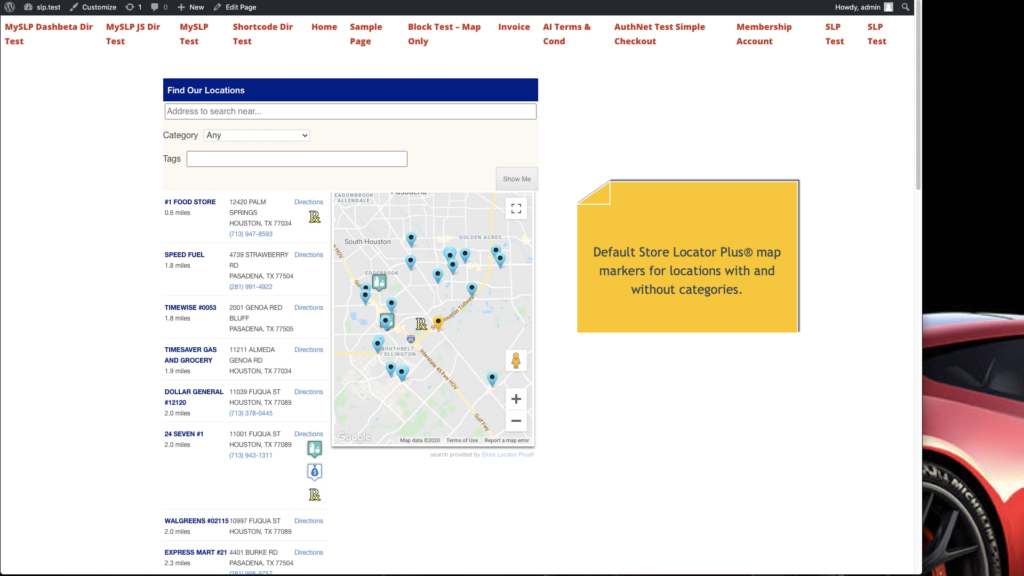
What happens when a user decides to filter the list of categories? Only locations that are within the selected category are shown.
If the location only belongs to ONE category, as is the case for the “#1 Food Store” in our example above, the choice is easy. Show the category map marker.
But what should be displayed if a location belongs to several categories, as is the case for our “24 Seven #1” location shown in the example above?
Prior to our mid-September 2020 release of Store Locator Plus® (or the Power 5.5.7 add on for our legacy WordPress plugin users), the marker for the “24 Seven #1” location would be the highest ranked category, which is the convenience store marker.
With the mid-September 2020 release, however, this behavior has changed. The map marker displayed will be the one that matches the filter the user selected.
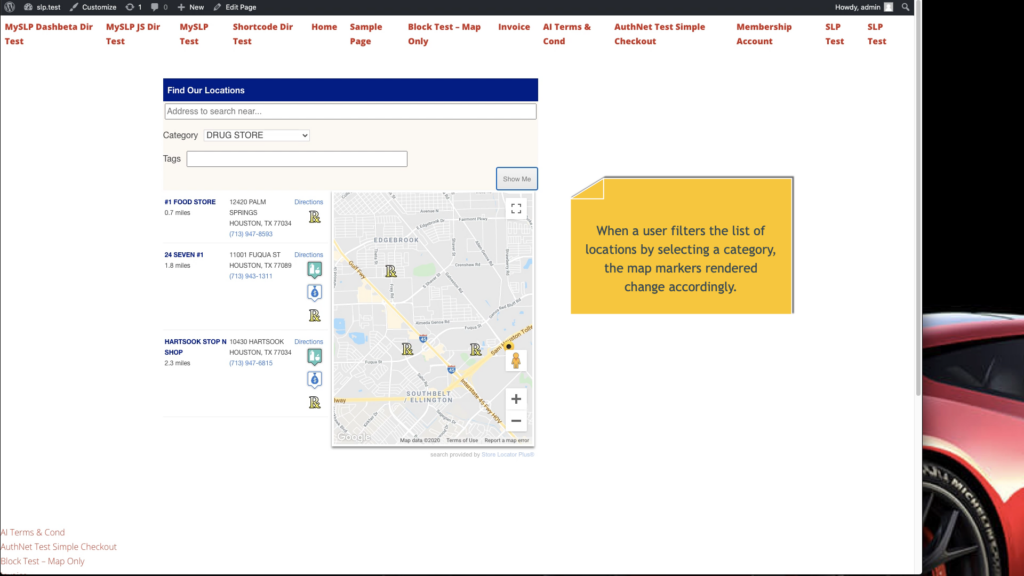
What about Store Locator Plus® interfaces that allow users to select more than one category, such as interfaces that allow checkbox selections for categories? Markers will be chosen from the markers for the selected categories only. If a location matches 2 or more of the categories, the highest ranked OF THOSE SELECTED will be displayed on the map.
This is different from earlier versions of Store Locator Plus® where it would always display the highest ranked category map marker, even if it was not part of the checked list of categories.

We need to filter our locations by brand. Does your plugin or an extension to your plugin have this feature?
Power add-on for WPSLP (DIY) or the Professional level plan (or higher) for MySLP is the right choice for doing that. Either allows for simple categories or parent/child relationships between categories. Locations can be assigned to one or more categories. Your users can then search for locations based on those categories.
For more complex hierarchical functionality , button bars , horizontal check-boxes for categories and more customized approaches you might want to check out our WPSLP Premier subscription or the MySLP Enterprise level subscription
Add a category for each brand you offer and your users will be able to filter locations showing only those that offer specific brands.
There are components of the Power Add-on that use the built-in WordPress category system involving several tables. When moving sites over or combining sites, whether it be from a staging site, or an older site to a live site , getting the data in wp_slp_tagalong to match up with a pre-existing site that has pre-existing category data (taxonomies) will be a chore.
For example,
Under a Current site , there may have been an assigned Category “A” ID # 3 at the time the category was created in the taxonomy table but Live may already be using that ID, therefore when you create a Category “A” it may be assigned ID #19.
In order to “just move tagalong /categories over” you would need to edit every entry in the “wp_slp_tagalong” table and change ID # 3 to ID #19. To do so, you need to first let WordPress create all of the categories (you could do this with a category-only import) second look up all the ID numbers of the assigned categories, third edit the wp_slp_tagalong exported data from Current to change all of the ID numbers from the “old” WordPress site to be the ID# assigned on the “new (Live)” WordPress site. If you only have 2 or 3 categories it may not be a chore but it can get out-of-hand very quickly. If you make any editing mistakes you will have various issues.
WordPress table descriptions can be found under the WordPress Codex page Database Descriptions
The two tables that would be employed by WordPress when creating or maintaining a category:
wp_terms = the category information itself
wp_term_taxonomy = the metadata that tells WordPress about different category groupings, in other words “this category is for posts”, “this category is for Store Locator Plus locations”, “this category is for videos”, etc. You will not need to export/import this but you WILL need to know what the old (Current) system assigned as the SLP Locations taxonomy ID and what it is on the new WP system. When you export wp_terms from the old system you will need to edit that export and change the taxonomy ID from what it was on Current to what it is on Live.
Tags are text labels that can be used as identifiers and can be added to any location if you have WPSLP (do it yourself) Power Add On, or with the Professional level subscription for MYSLP. It is a quick and informal way to add filters or for grouping features to your Store Locator Plus locations.
Settings for Store Locator Plus Tag Search are under the Settings/Search section when you have the Power Add On installed.
Turning On Tag Searching
Tag based searches are off by default. Set the Search Form Tag Input to something other than “none”.
You can set a custom label for the tag search input. By default the label is blank. Leave blank type in what you want to appear for the Search By Tag Label: entry
You can elect to have either a drop down or a text box input for users when filtering results by location tags. The default mode is to allow for free-form text input. To use the other methods you must enter a series of your tags separated by commas.
You can also provide an “any” selection which will search for all locations, in addition to the list of tags you enter on the drop down. Check off the “show any” setting and Store Locator Plus will automatically add the phrase “any” to the top of your search list.