Categories is available in the Power WordPress plugin or Professional level or higher in the (My)SLP Software as a service (SaaS) service.
Getting Started
Under Store Locator Plus
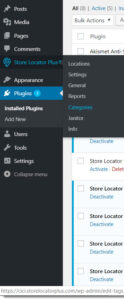
Click category tab :
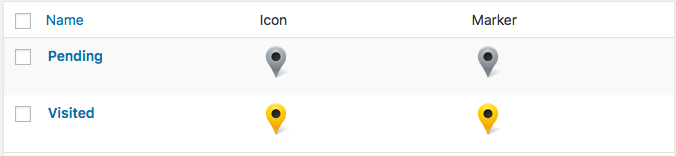
Store categories
Follow the instructions under each field,
- add the name as you want it to appear to your site visitor,
- add a slug (a url friendly version of the name, usually all lower case and only contains letters, numbers and hyphens, not special characters),
- determine if you want to make this a parent with future child categories, a child of an existing category or none,

- optional, add a description.
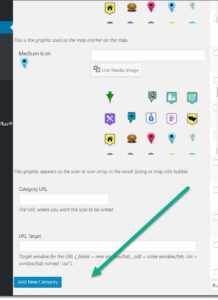
- optional, add a rank for extended data for ranking map markers
- optional, add an icon
- add a map marker or add the “blank” first marker, blank will not appear but exists merely in the background.
- Click on Add New category
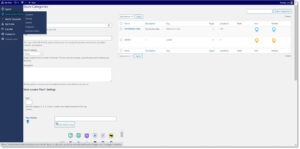
Once you have established categories and saved them you will see a list of your store categories when you view the Panel next time.
The list will show you how many locations are associated with the corresponding category.
The category list is based on the custom stores taxonomy setup in your Store Locator Plus. It is the same taxonomy used by the (Store) Pages add-on. The links will show a list of stores in that category if Pages is enabled.
Under Location Tab – A field will be provided if you have the Power Add-on and this is where you assign the categories. Example shows a selection based on the categories I have established.